Toolbox Installation – Step by Step
This section is a complete sequence of Toolbox product Install Setup Screens with added yellow highlighter mark-up. Folder Paths will vary for installs on 64-bit platforms but makes no difference to the installation process.
Before starting the installation process make sure to disable whatever antivirus software is running on the PC/Server as they can occasionally interfere with the installation of Toolbox.
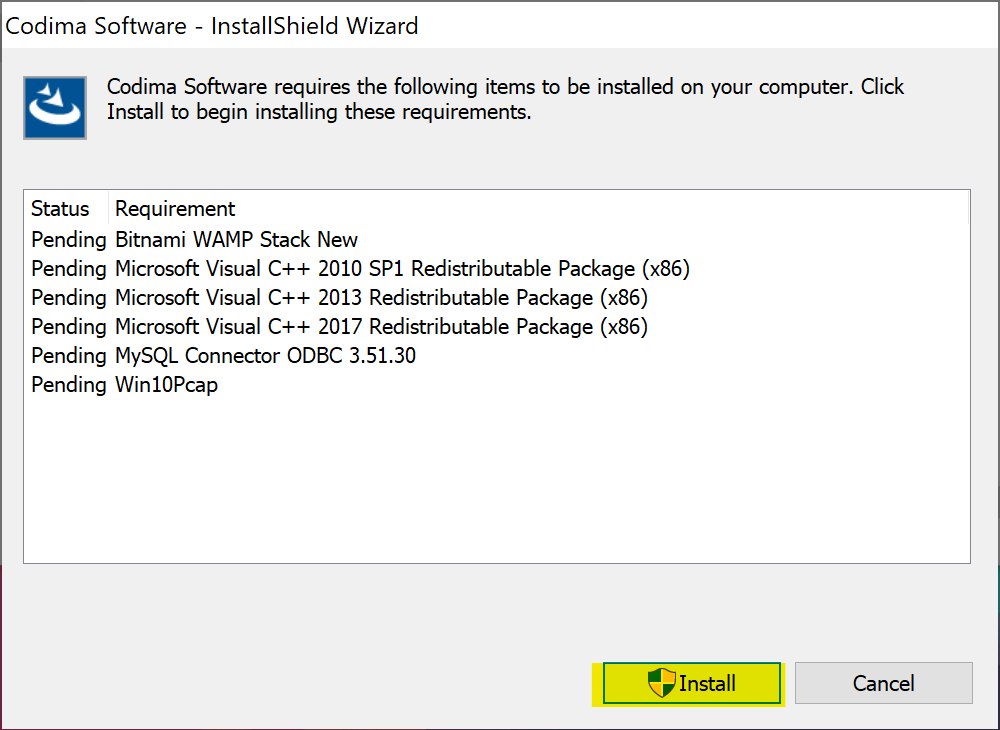
Step 1: Toolbox Setup starts with a list of Prerequisites. These are software components required to be installed before the main Toolbox Setup starts. Their installations are bundled with the Toolbox installation Wizard and will start automatically.
To begin click Install
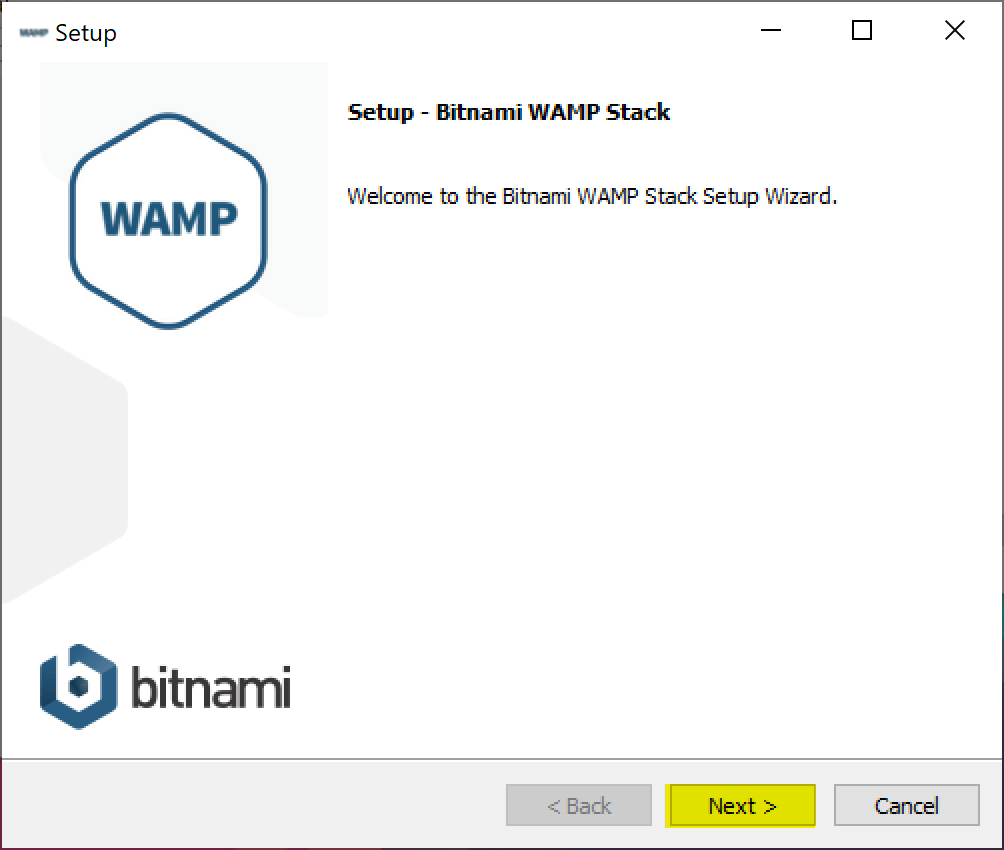
Step 2: First Prerequisite – the Bitnami Setup Starts, click Next
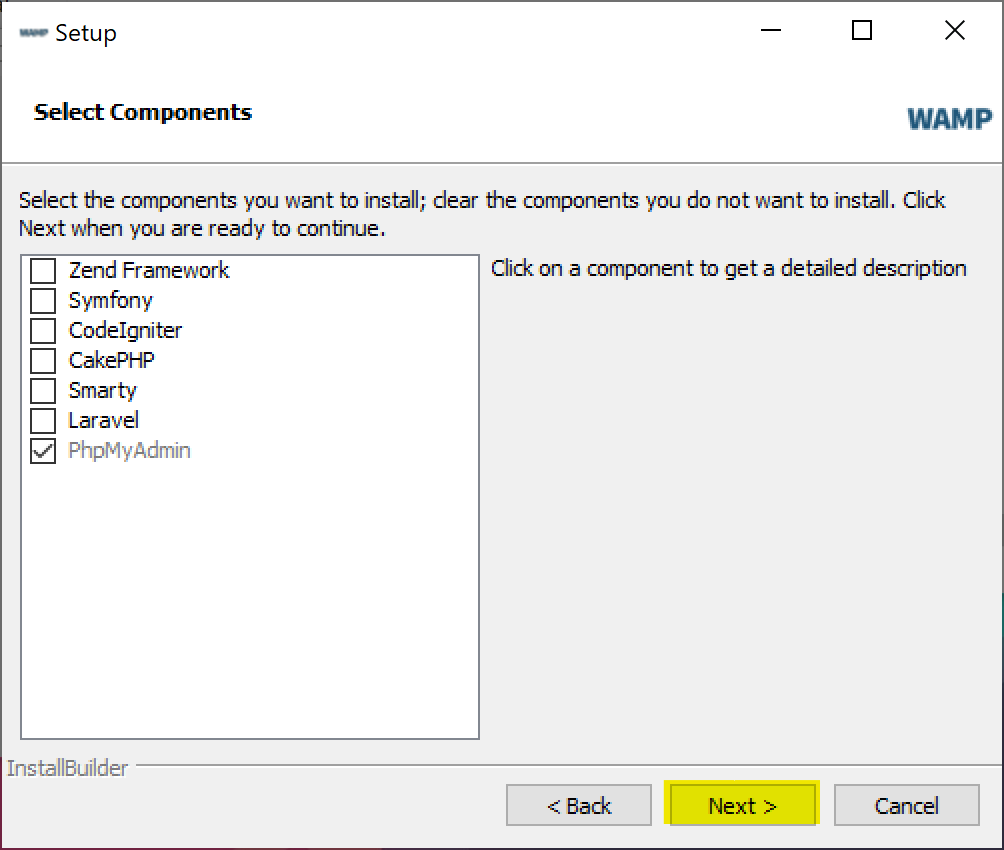
Step 3: Click Next as the only necessary Bitnami Component is ‘PhpMyAdmin’
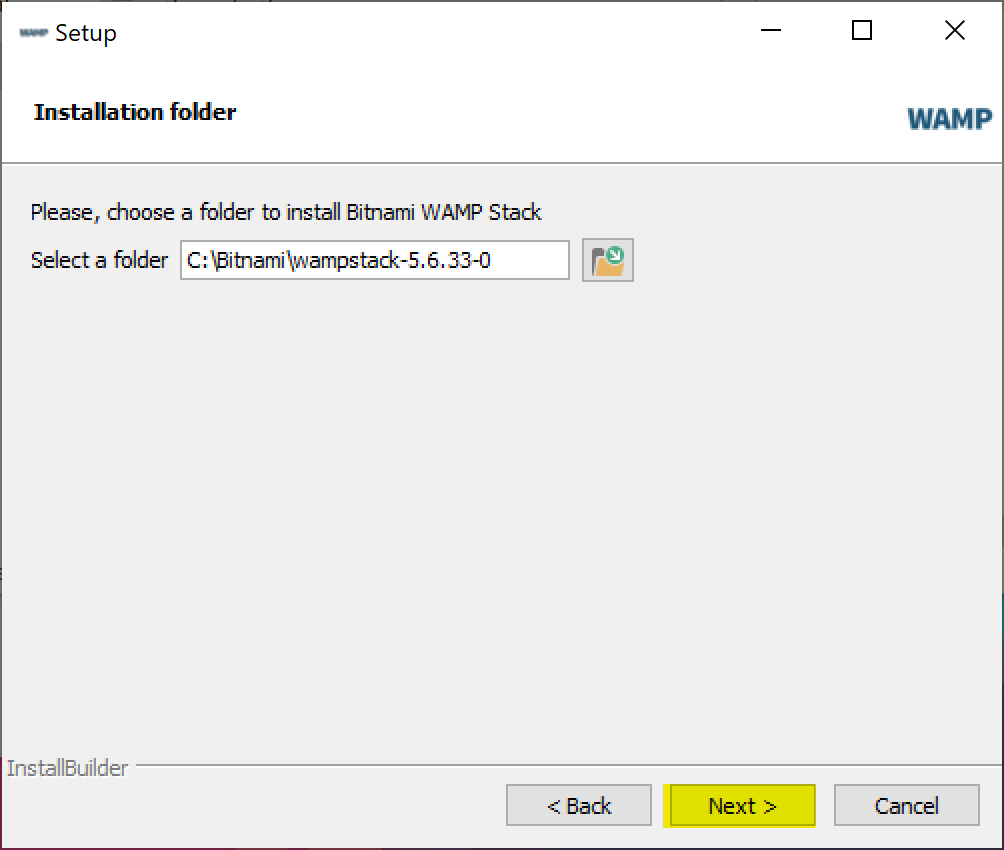
Step 4: Next input the install path for Bitnami. The Default path is perfectly fine to use
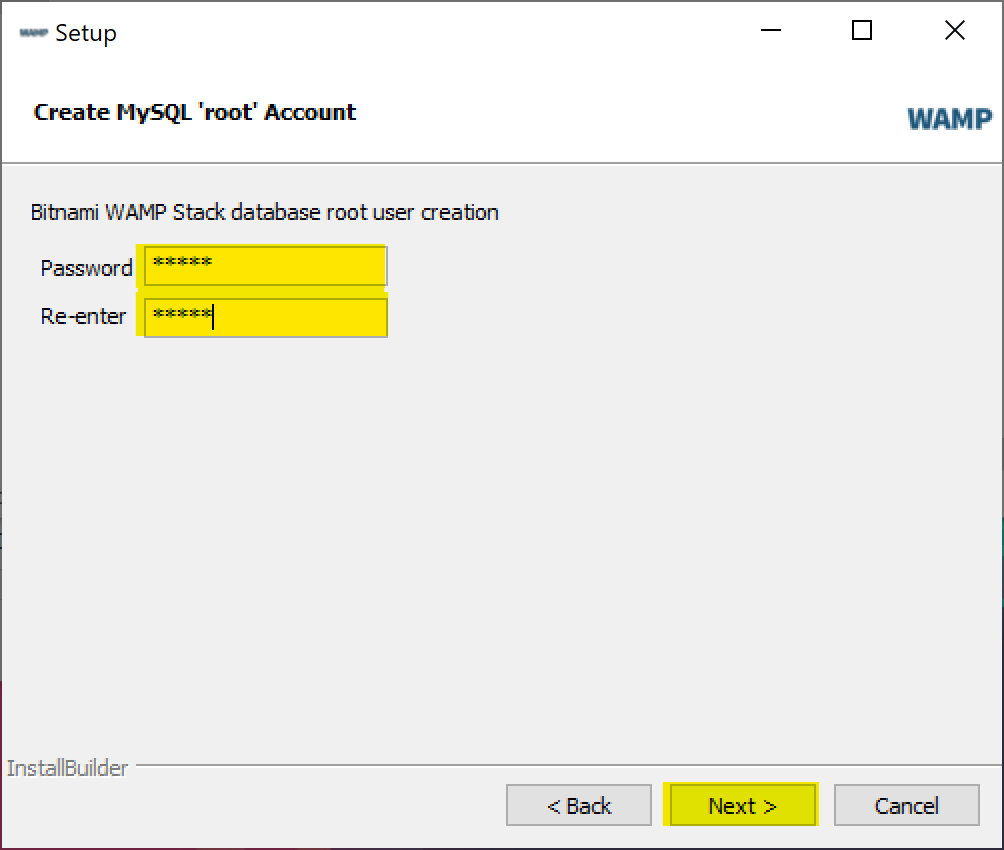
Step 5: Input a password for MySQL. Make sure to remember this when the installation is complete because you will need to input it when opening Toolbox for the first time
Then click Next
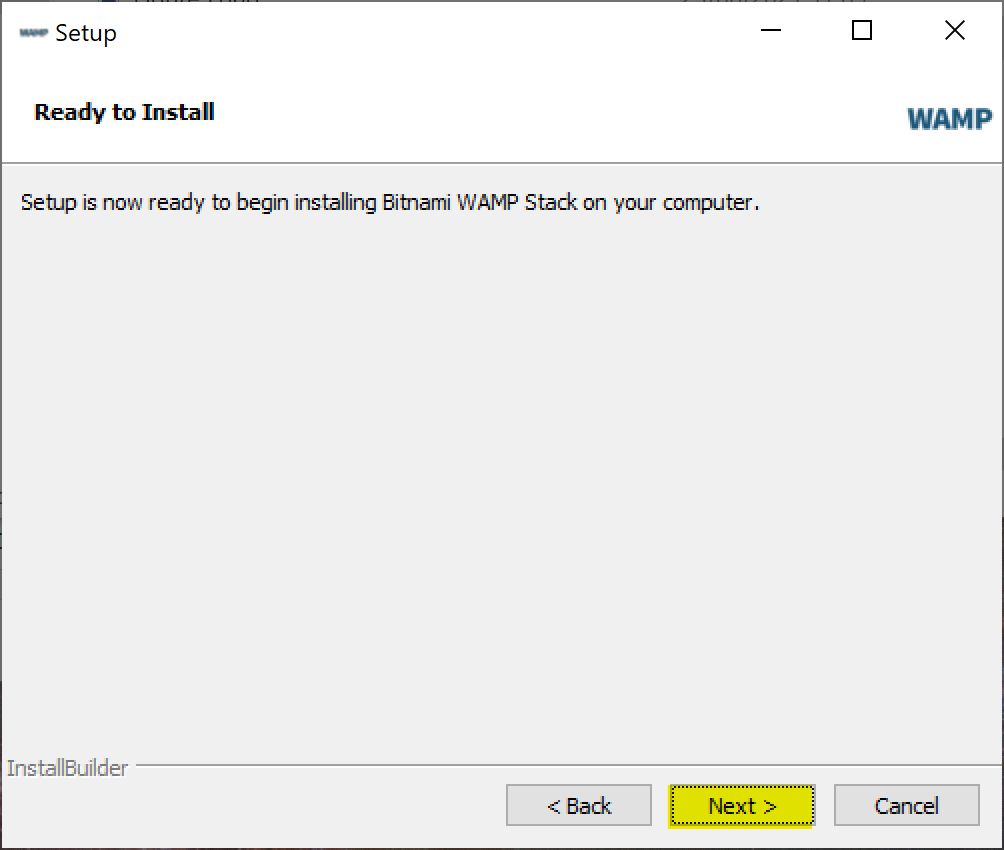
Step 6: Click Next

Step 7: Click Next
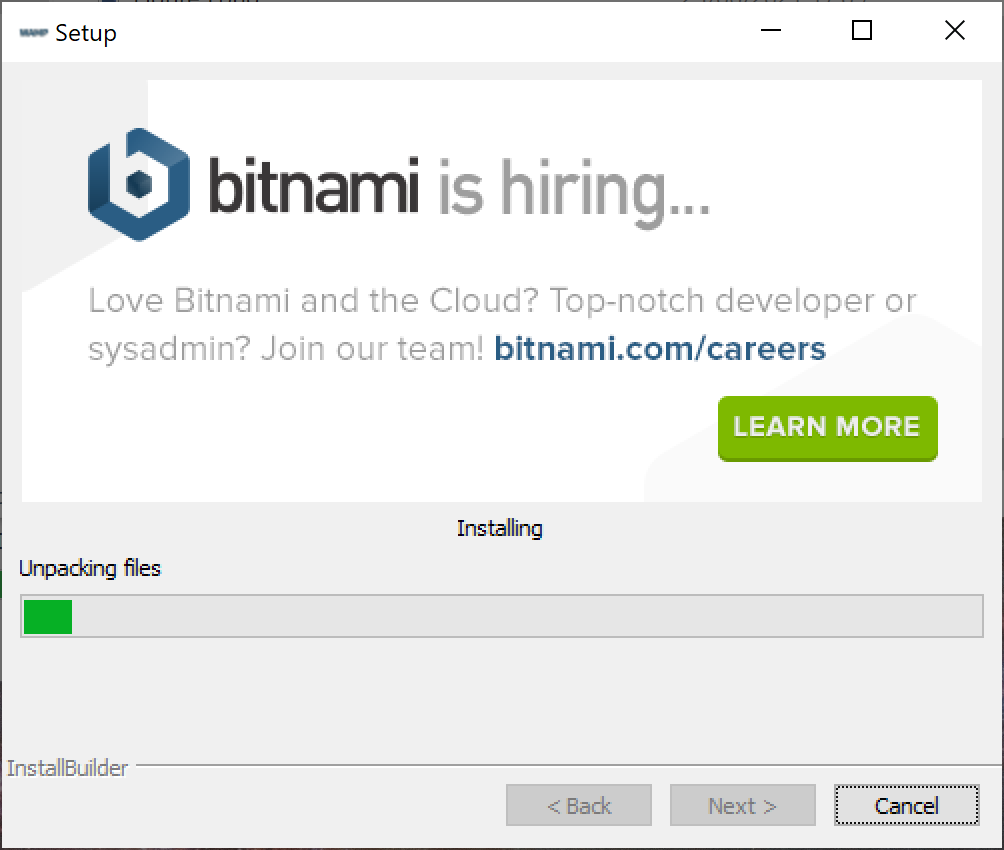
Step 8: Bitnami Setup now runs…
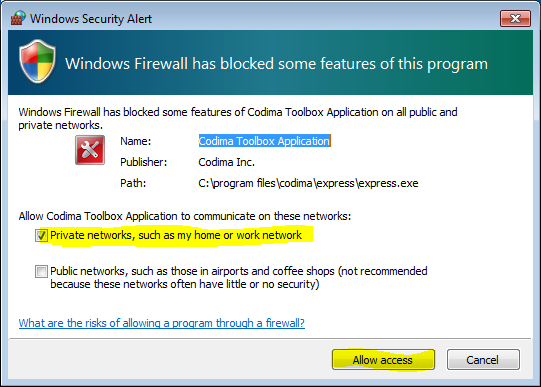
Step 9: towards the end of Bitnami setup Allow Firewall Access

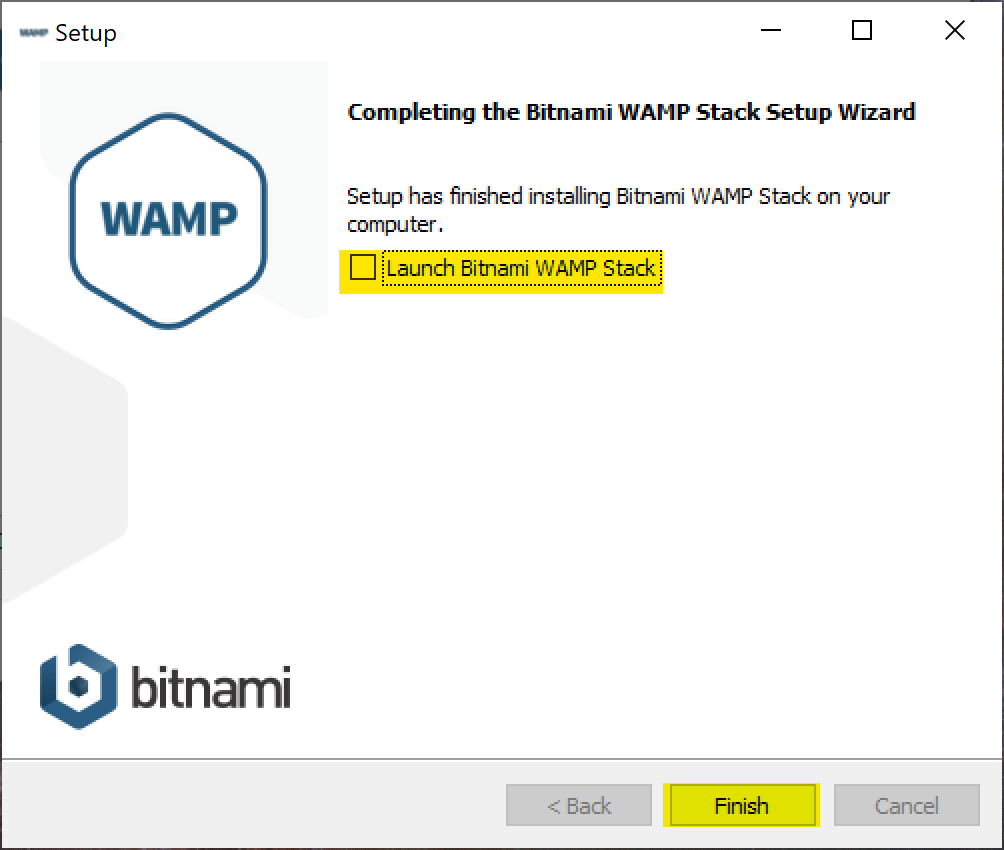
Step 10: Bitnami successfully installed – Untick Launch then press ‘Finish’
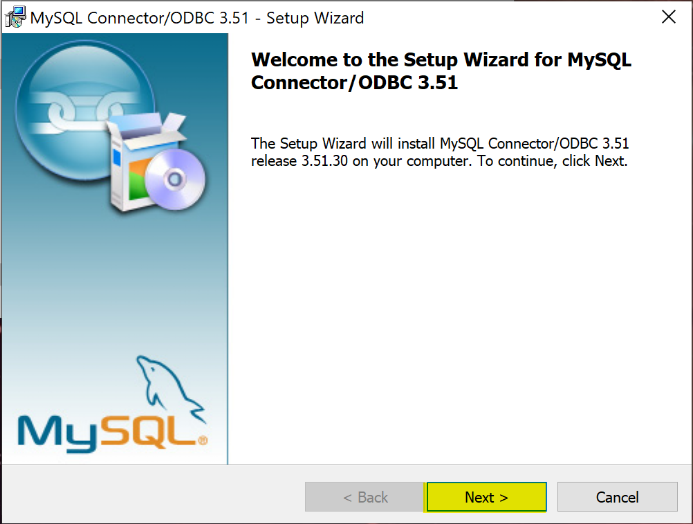
Step 11: After the 3 C++ Redistributable Packages install silently without any user input, MySQL Connector ODBC setup now starts, click Next.
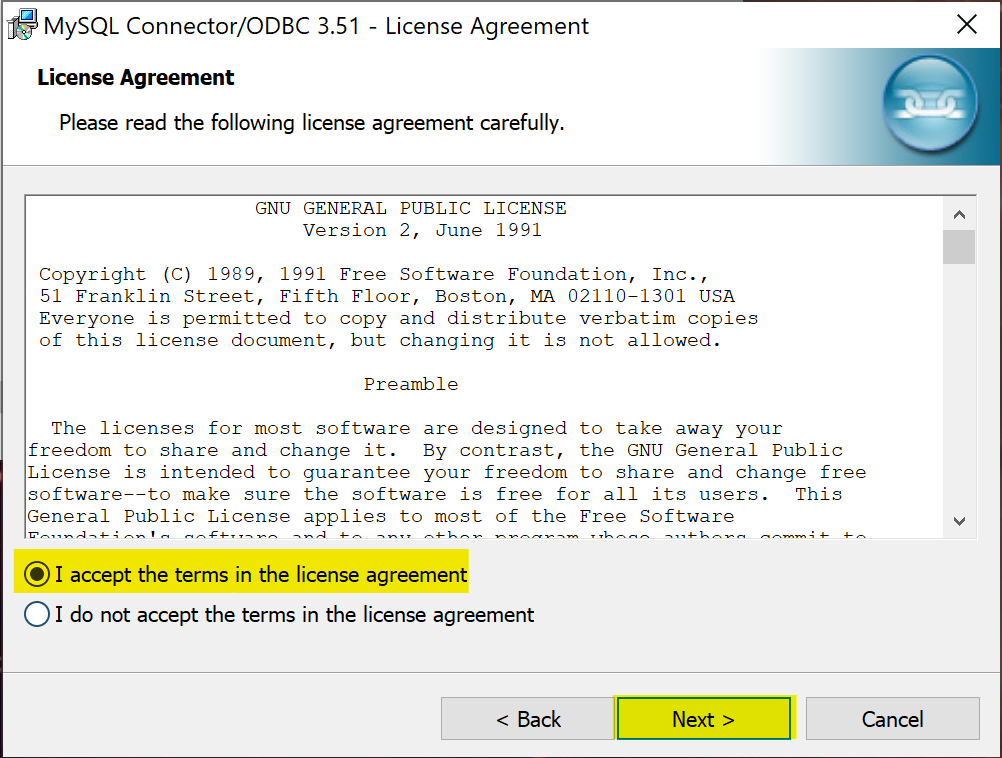
Step 12: Accept the license agreement and click Next
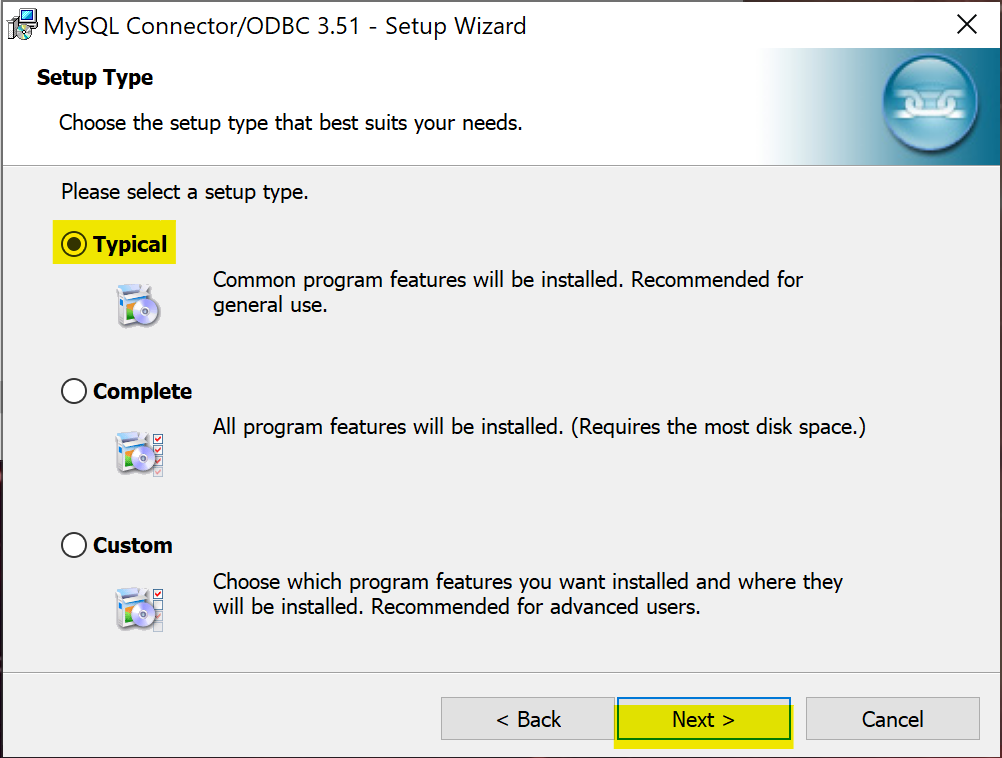
Step 13: Choose Typical then click Next
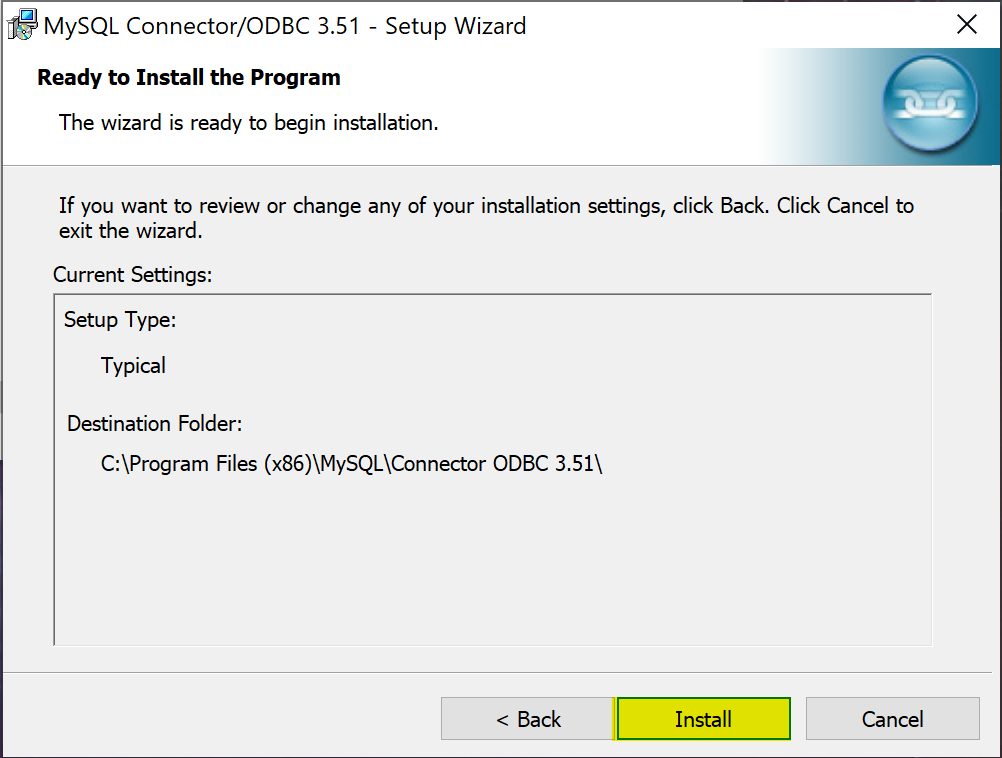
Step 14: Click Install
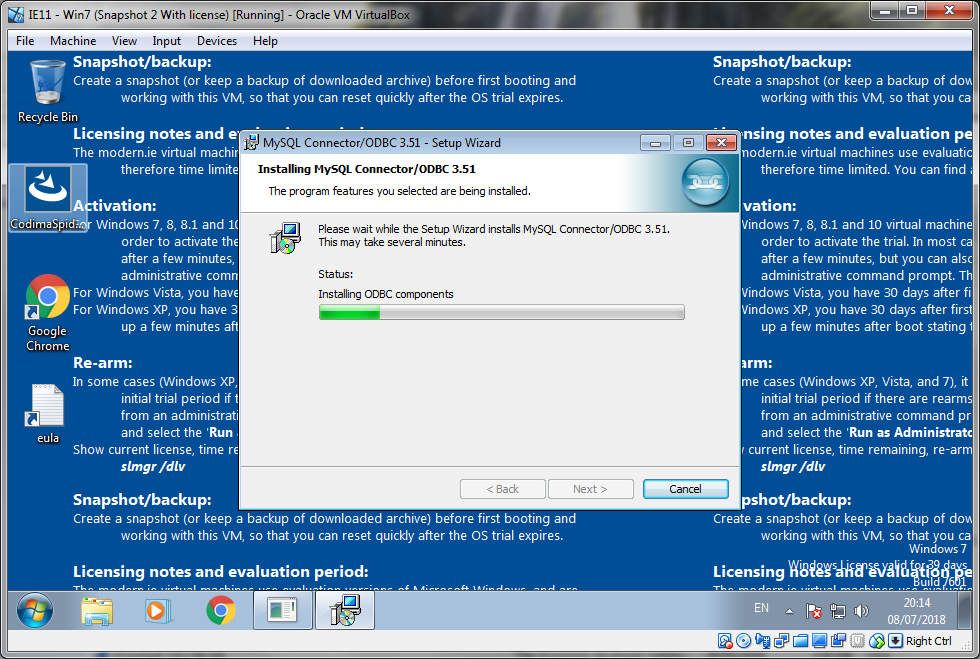
Step 15: MySQL Connector Installing
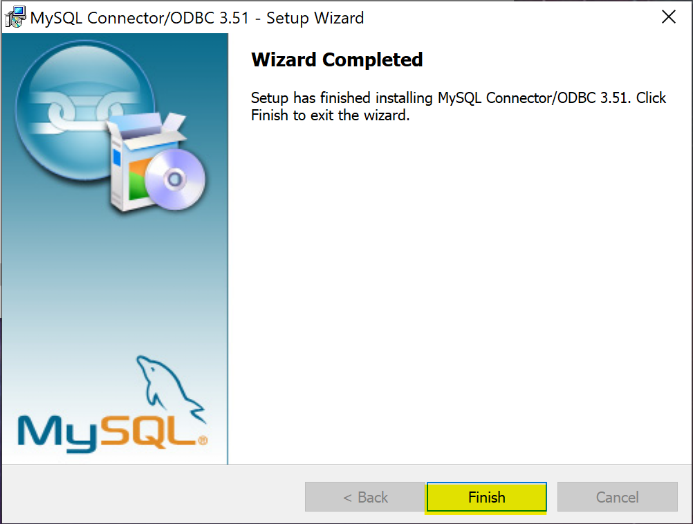
Step 16: MySQL Connector setup complete, Click Finish
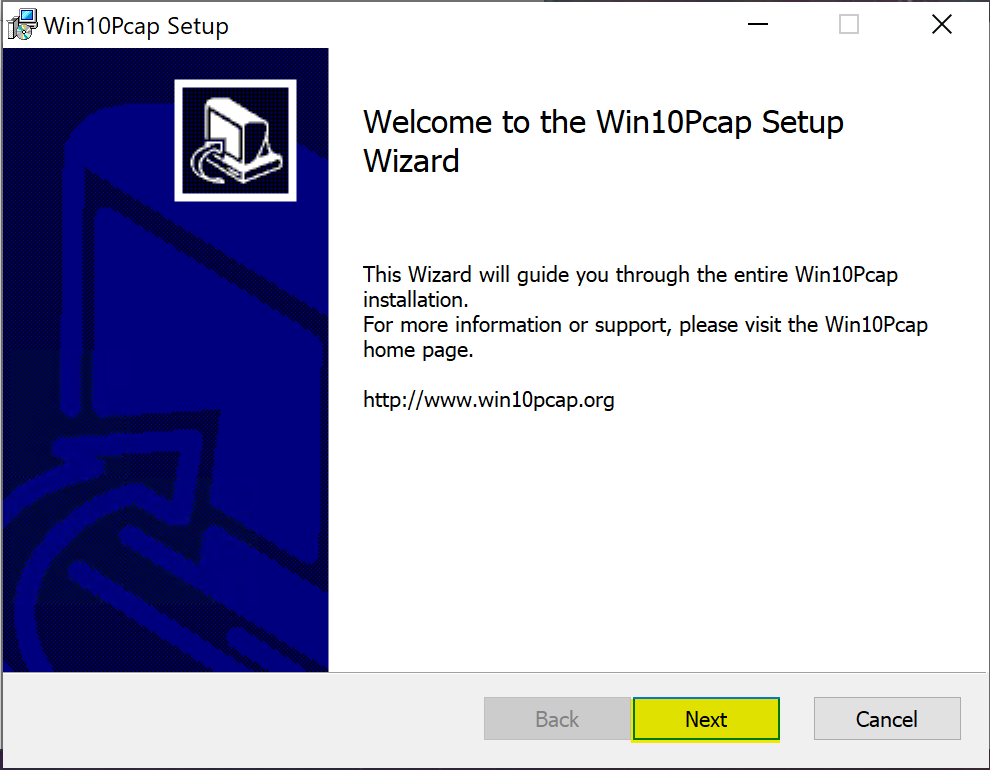
Step 17: Win10Pcap setup now starts. Click Next
Step 18: Accept the license agreement and click Next

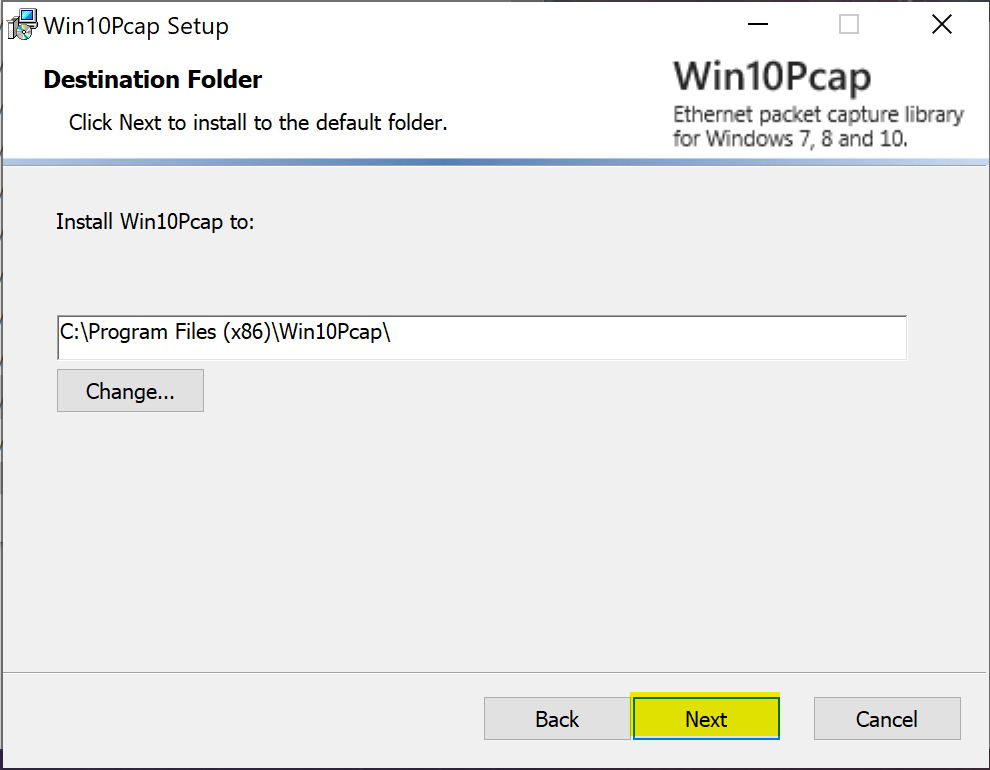
Step 19: Click Next
Step 20: Click Install

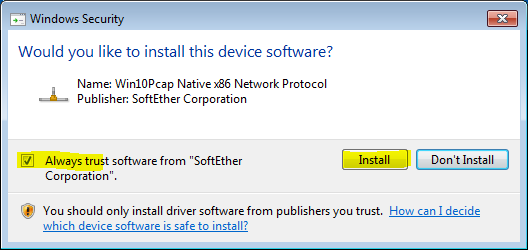
Step 21: If this window appears tick Always Trust and click Install
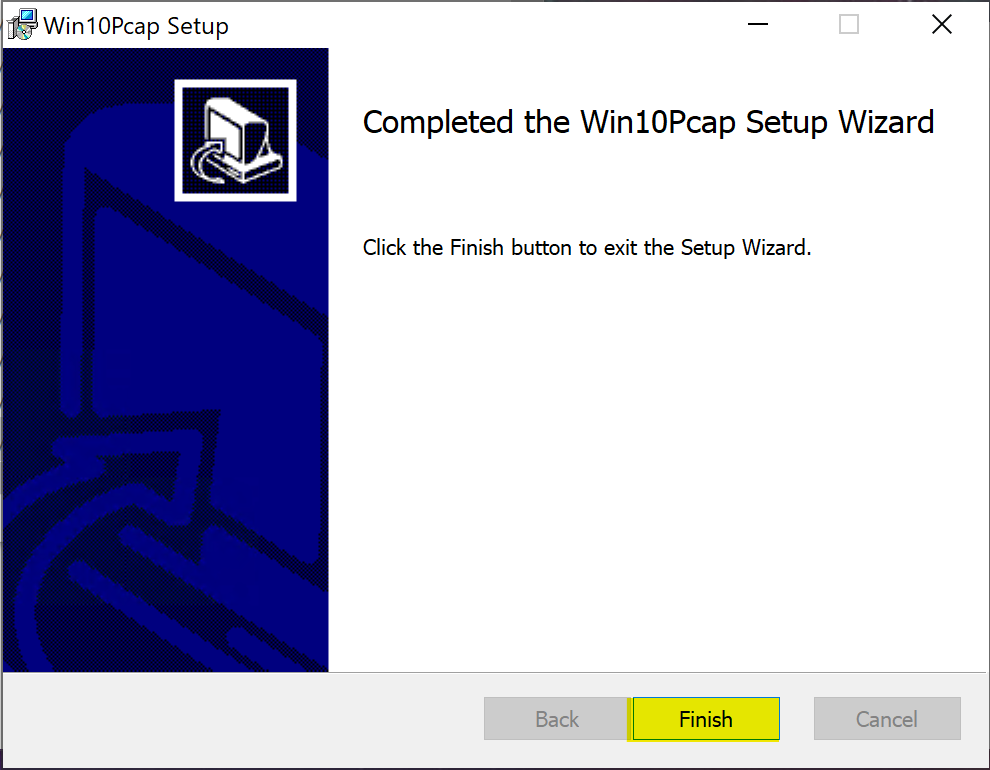
Step 22: Win10Pcap Installed click Finish.
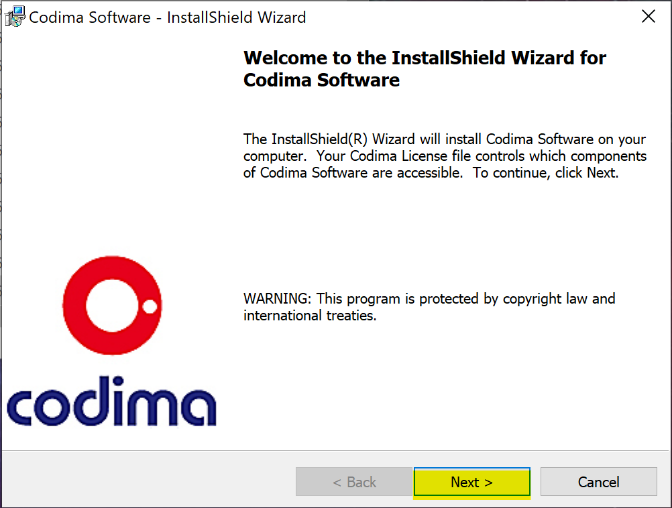
Step 23: Toolbox Setup starts click Next
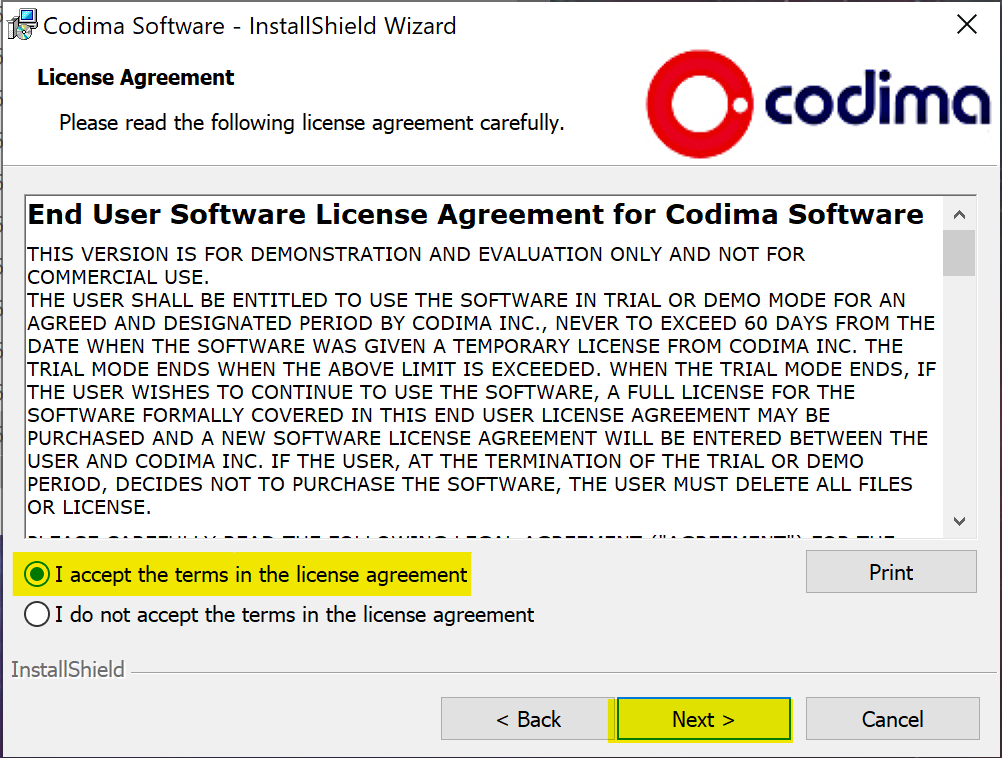
Step 24: Read through the license agreement and if you agree then accept the license agreement and press Next
Step 25: Click Next
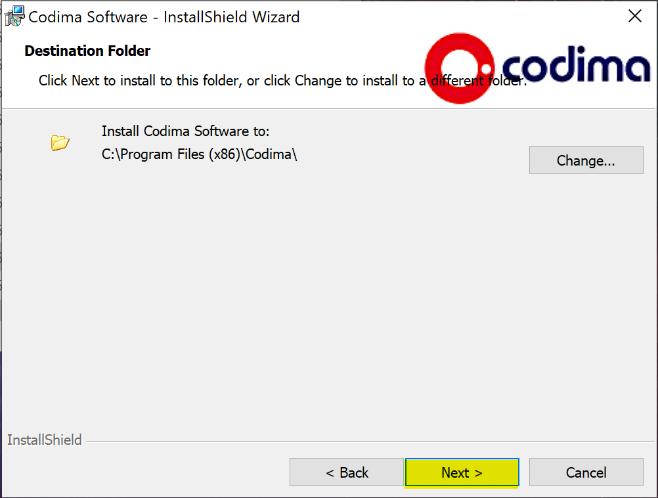
Step 26: Click Install

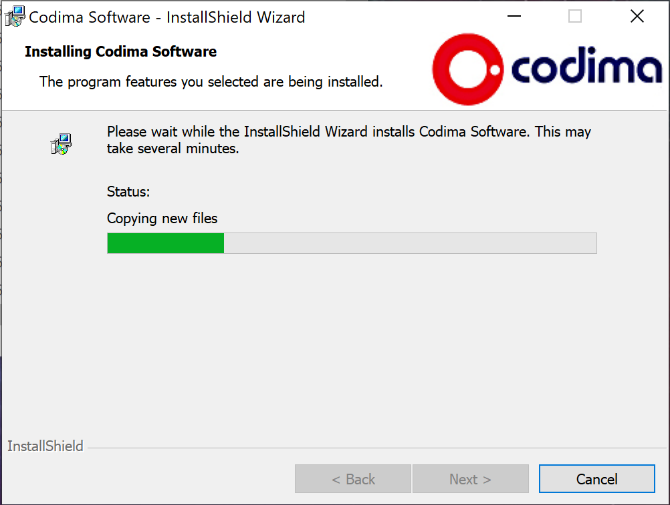
Step 27: Setup in progress.
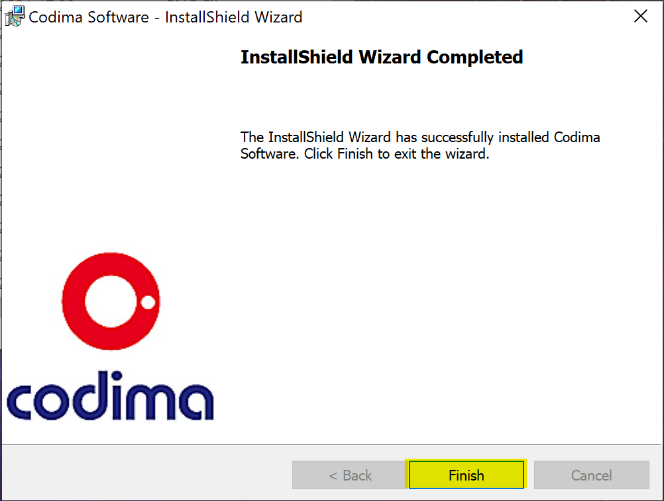
Step 28: Toolbox Setup completed, click Finish
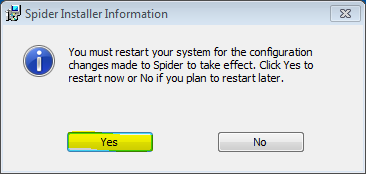
Step 29: If prompted restart your machine now by clicking Yes
Step 30: If you have purchased a Codima license place the CodimaLicense.zip in your Document Library, a detailed guide for how to install the license exists in the next section named “License Installation”
Step 31: Run Toolbox from the Desktop shortcut icon

First Time Setup
This section details the steps to take the first time you open Toolbox. These steps will not be required every time the program opens, the only time these steps may need to be repeated is upon reinstallation of the software.
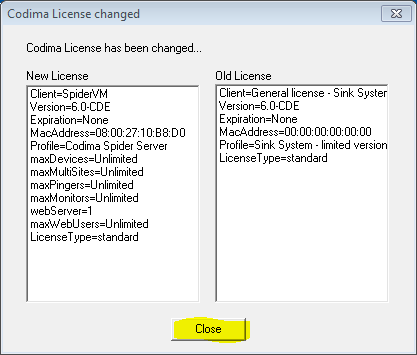
Step 32: License Changed confirmation, this window will only appear if a license has been installed with Toolbox (An in depth guide for installing a license exists in the next section of this document named “License Installation”).
Click Close
Step 33: You may be prompted to allow Firewall access, make sure to click Allow access.
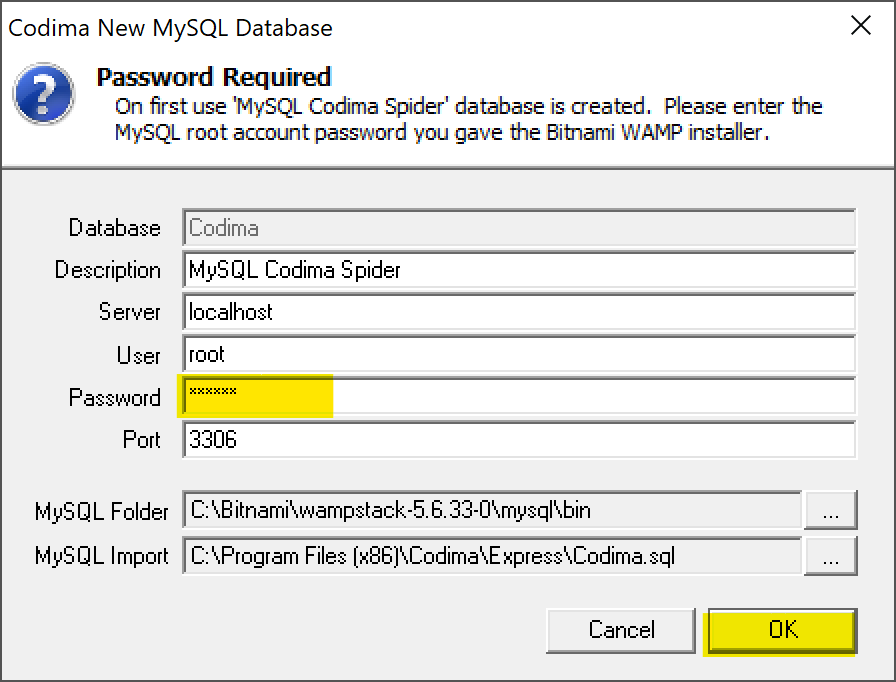
Step 34: Create the Codima MySQL database entering the password you made a note of earlier during the Bitnami Setup and click OK
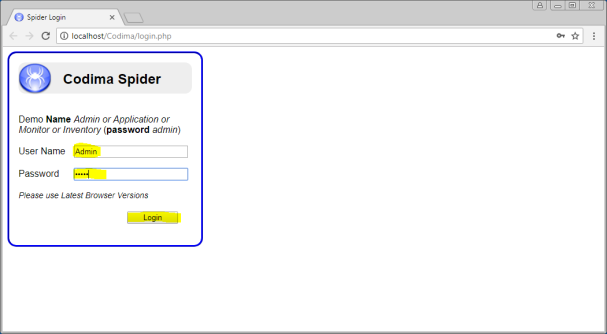
Step 35: After a minute or two the Toolbox Login Page opens in your browser.
Default User Name = Admin; Password = admin.
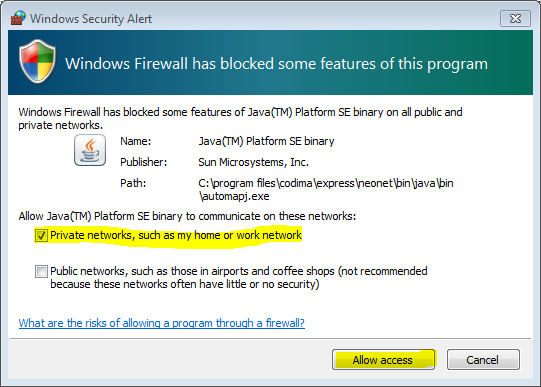
Step 36: First time running a discovery – Allow the discovery engine firewall access
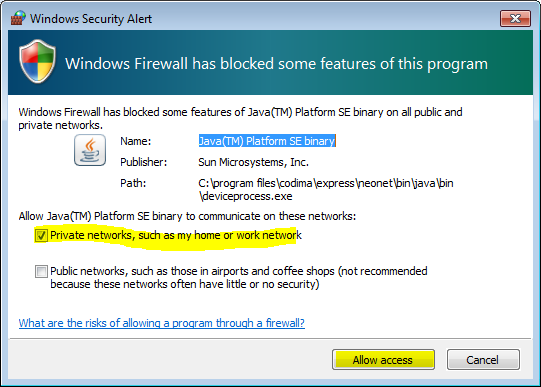
Step 37: First time running a discovery – Allow the device process firewall access
Step 38: You are entitled to both programmes these icons correspond to if you have either a:
Free license
Network Inventory with Maps in Web and Visio Toolbox license
Network Inventory with Maps in Web and Visio and Monitoring + Alert Ticketing Toolbox license
You are only entitled to use the programme the left icon represents if you have a Network Inventory Toolbox license
The icon on the left is the web-based toolbox, while the icon on the right represents Visio (Network map drawing software)

Licence Installation
This section details how to install a Toolbox license onto a computer that already has the Toolbox software installed on it.
- Download the compressed file named CodimaLicense.zip from the email that Codima sends to you after the purchase of a license.
Note: If a zip extractor programme opens then exit out of it - Open File Explorer, this can be done by pressing Windows + E.
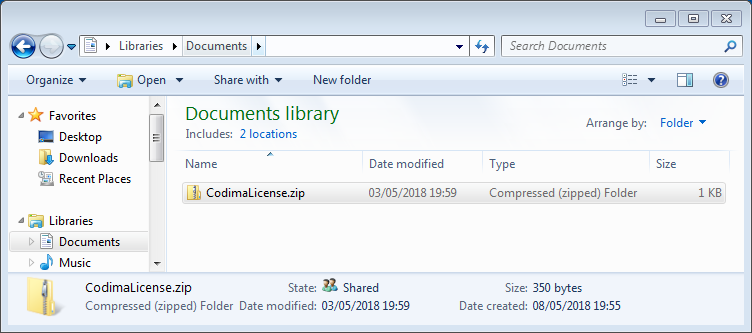
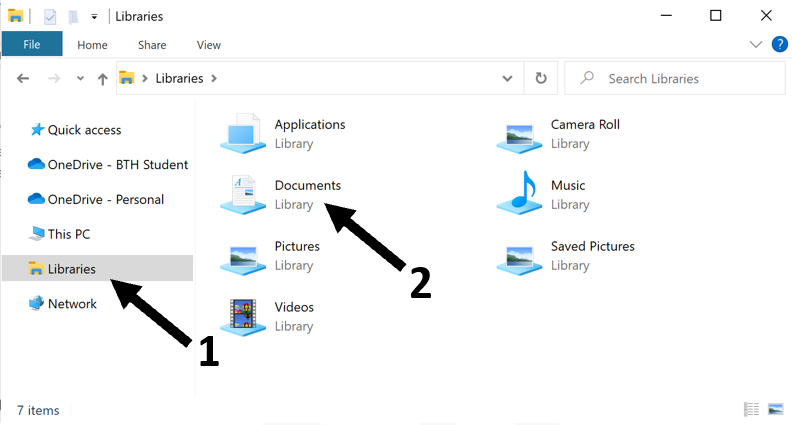
- Navigate to Libraries (Marked by the arrow labelled 1) then open your Documents folder (marked by the arrow labelled 2).
- Now place the CodimaLicense.zip that you just downloaded into you documents folder.
- To make sure that the license installed correctly open Toolbox the application, the application can be found on the computers desktop and has this Icon:
- You should now be greeted with a window saying Codima License Changed and it should look like the image below. Once you have clicked Close you have successfully installed the license.
Note: If this window did not appear for you then continue with the steps below - If the installation of the license was unsuccessful there are a couple things that can be done.
- First make sure that the file you received from Codima called CodimaLicense.zip is in your Documents folder and that the files name has not been altered.
- If the first step did not work, try replacing the file License.txt at this file destination C:\Program Files (x86)\Codima\Express\neonet\bin\License
with the License.txt file that is found in the CodimaLicense.zip file.
IMPORTANT: Make sure that you make the LATEST licence file, the one called CodimaLicense.zip. That is because if you have multiple downloaded licenses, then later versions will be in the format Codima.License(NN).zip which will NOT be used by the installer. So please rename the latest License file to CodimaLicense.zip.
Update Existing Software with the Latest Version
This section guides the user in how to update the Toolbox software on a PC/Server that is already running Toolbox.
- First download the newest version of the Toolbox installation wizard. Do this either by downloading the free version here https://codimatech.com/en/free-download/ or by having purchased a Toolbox license here https://codimatech.com/en/pricing/.
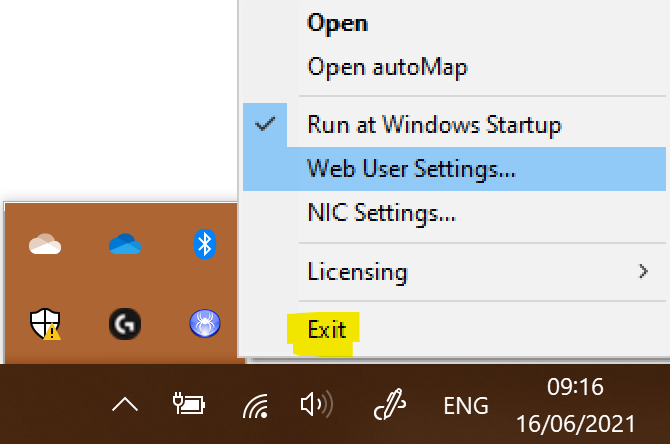
- Make sure to completely exit Toolbox on the Server by using the bottom system tray Blue Icon and select Exit
- Then run the new installer.

Note: When you first run Toolbox after an update you may need to clear the Web browser cache for the GUI to be displayed correctly. On Chrome press Ctrl + F5 to clear the cache.
Complete Uninstall – will delete existing discoveries/statistics and all other information for the Toolbox
This will destroy any existing discoveries or other information.
- Make sure to completely exit Toolbox on the Server by using the bottom system tray Blue Icon and select Exit
- Press the Windows key then type ODBC Data Sources (32-bit) and click Open (Marked below in yellow)
- Remove all System DSN’s associated with Toolbox. This includes Codima and your discovery database names.
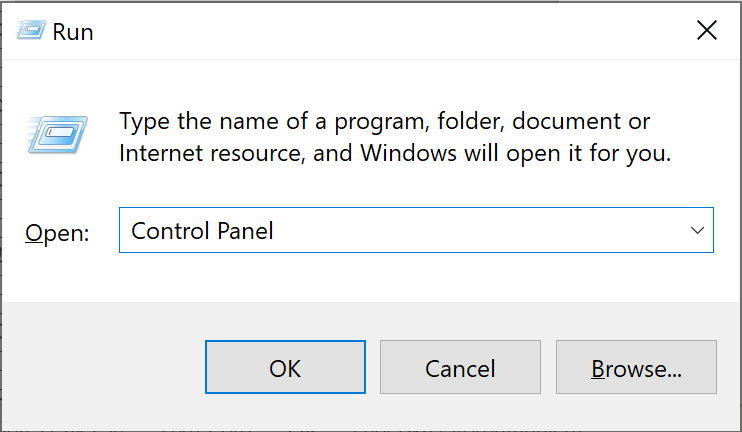
- Now open the Run window again by pressing Windows + R, then type Control Panel and press OK to open the Control Panel
- Under the heading Programs is the subheading Uninstall a program, click on it
- Now uninstall the following:
- Bitnami WAMP Stack
- Codima Software
- Win10Pcap
- The final section is to delete the associated program folders that remain after uninstallation. Find all of these by opening the File Explorer, this can be done by pressing Windows + E on your keyboard.
- Navigate to This PC which is found on the left-hand side (as shown by the arrow labelled 1), then open the Local Drive, which is most commonly the drive named ‘C:’ (shown in the picture by the arrow labelled 2)
- Once the Local Drive has been opened locate and delete the folder named Bitnami
- Then open the folder Named Program Files (x86)
- Once there you will need to locate and delete both the file the named Codima, and the file named Win10Pcap
- Optional: You may also decide to delete the license for the software, do this by opening the Run window with the key combination Windows + R, Search for Documents and the file explorer will open. Now locate and delete the zip file named CodimaLicense.zip


TROUBLE SHOOTING INSTALLATION and LOGIN
Antivirus
These programs can block installation of Toolbox at many stages. It is highly advisable to turn off during installation. Some less well-known AV can lockup the PC during installs and should be replaced with well-known AV products. Many major AV programs allow the user to specifically White List Codima Software. Remember to turn on AV again after installation.
Windows Firewall
During the initial install Windows will ask the user if they want to allow programs like Apache, MySQL plus Toolbox programs through the Windows firewall, it is important to say yes. If there are later problems with Discovery or Polling the network devices, check in Windows Firewall Advanced Setting that Toolbox programs are not denied access.
Tip: If loading Toolbox and while logging in nothing is loading, please use Clear Cache and Hard Reset the software. See the steps below if you are unsure on how to do this.
- To clear your web browser’s cache, use the shortcut Ctrl + Shift + Delete, this will take you to the settings page where cache can be erased.
- After opening Toolbox and the software is not loading click on the button that reads Fully Reload Toolbox Software, marked in yellow below.
Now try reloading the page and logging in again, the software should now load.